Education Spotlights
Creative Ideas for Your Sunday School Classroom
“I’m going to sit right in the middle, so I don’t miss a thing!” This was the comment from one of my Sunday School kindergarten students as I set up my shadow puppet screen to tell that Sunday’s Bible story. Today’s kids are bombarded with visual technology at home, at school, and even in the car. What can we do as Sunday School, VBS and Kids Club teachers that will keep our students engaged and excited to come and learn about the God and Savior of the Bible? My answer – there are lots of ways! Here are seven of the twenty-some methods I use.
Overhead Projectors – Clean the dust off this relic and use it to tell a Bible story. Cut out Bible story figures from construction paper using patterns from coloring books, old Sunday school material, or printed from web sites. 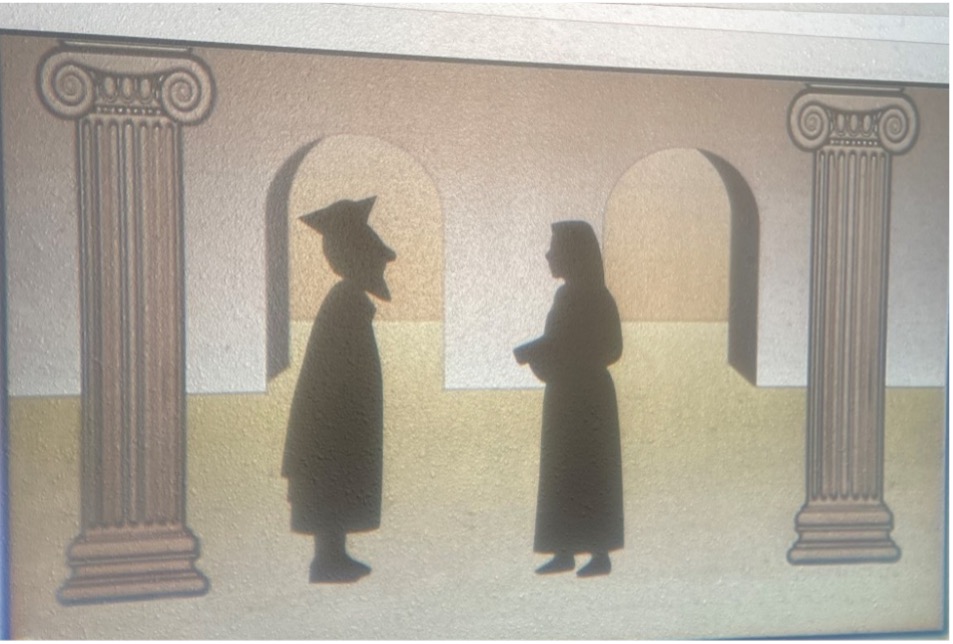 I have even used paper flannelgraph pieces that I have saved from past years. Backgrounds can be printed from websites onto transparencies. Turn off the lights in the room, turn on the overhead, and the children will be mesmerized by the large silhouette shapes on the wall. I have noticed that when the lights go off, they are able to focus much better on the story. They aren’t distracted by everything around them.
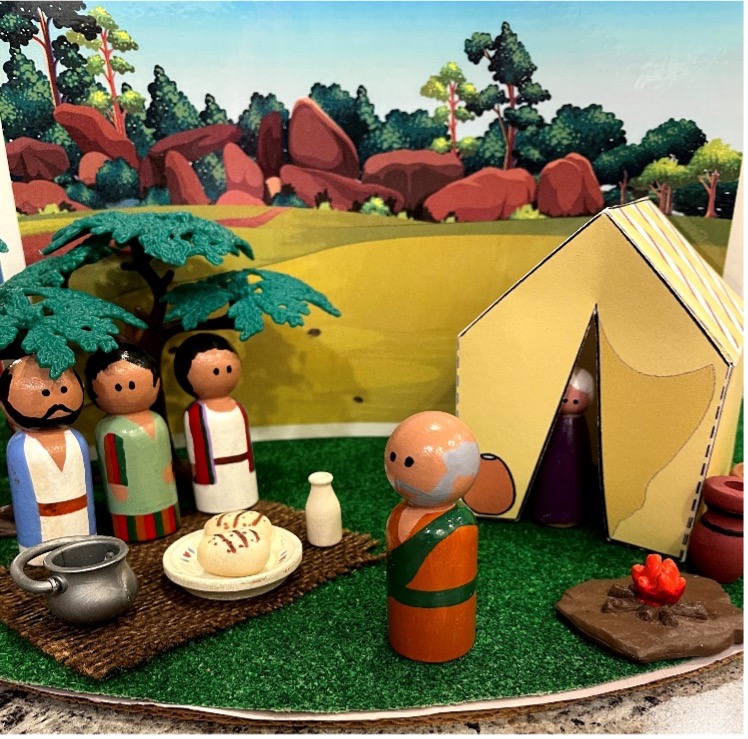
3 Section Pizza Wheel – Ask your local pizza place if you can buy one large pizza cardboard. (Usually, they will just give you one.) Hot glue a paper towel tube in the center. Paper clip three cardstock papers (landscape direction) together on the ends and pop over the paper towel tube. Many Bible stories can be told with just three scenes. Just turn the wheel as you tell the story. I have purchased several wooden peg people from craft stores and painted them to look like Bible time men, women and children. These can be used over and over to tell Bible stories. You could also use the figures from a nativity set. I went through my kids’ toys and found lots of little objects that I can use to help tell the stories. There are numerous web sites where you can print off great backgrounds that can be clipped onto the cardstock pages to create Bible story scenes.
Play-Doh – Give each child a lump of Play-Doh and have them make things that are in the story.  I include a tray of beads, googly eyes, cookie cutters, colored glass beads, plastic animals, and tools that they can use to create the Bible story. They are using their sense of touch, sight, and hearing to create Bible story objects and even emotions. This method works well when the Bible lesson is more about a concept or facts and not an actual story.
Blacklight Stories – Purchase a package of neon copy paper and print line drawings onto the different colors and cut out. I like to laminate the pieces for durability. 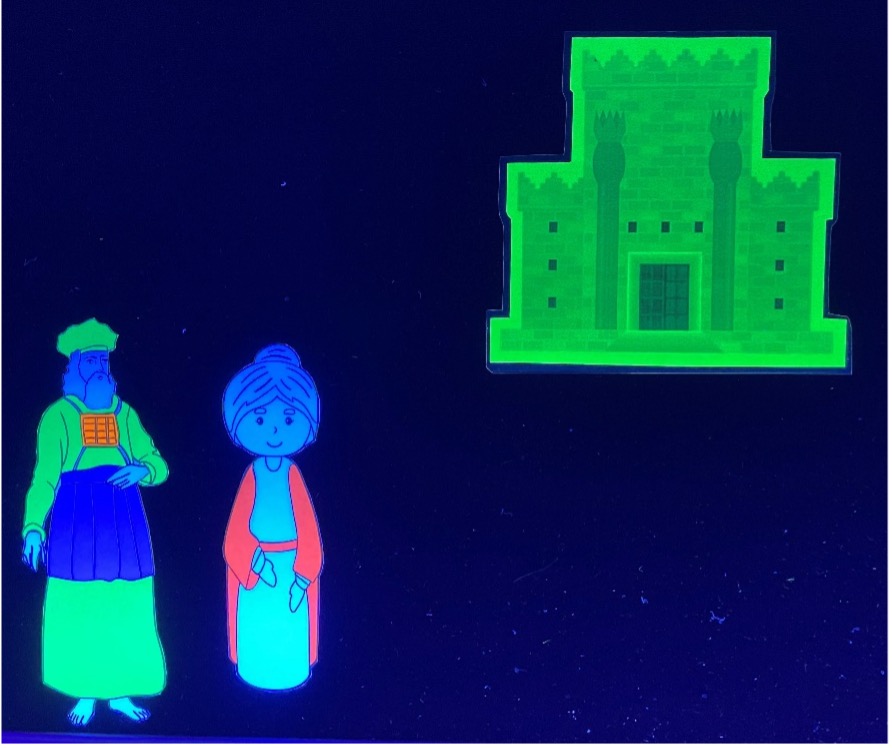 Then I attach the hook side of Velcro dots to the backside of the figures so that they will stick to a flannel board. Put a blacklight under the flannel board, turn off the lights and tell the story. I have used the colored flannel pieces from a popular brand of flannel Bible story kits that our church has, and they also show up well under a blacklight. I use several sizes of pocket page protectors to store my images so that I can use them again with other stories.
Dry Erase Boards or Paddles – As you tell a story, have the kids draw what they are hearing about. This can solidify the images, emotions or thoughts of the story in their mind because they are not just hearing and seeing them. They have to think about how to draw them. This will help them remember the story long after your class.
Legos – Build the story with these familiar building blocks. 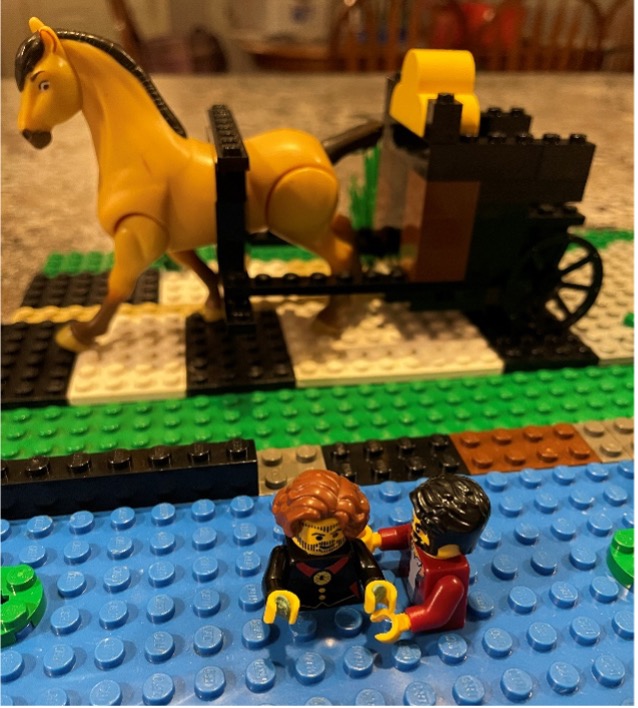 The children love this. Kids have great imaginations and even though your “people” may look like cowboys or astronauts they are able to see them as the characters in the story. As a review, let them tell the story after you have.
Acting the Story Out - Find your church’s Christmas program costumes and dress the part. Find props that go with the story, and the children will act the story out again and again as they do each character.
Flashlight Stories – I like to use this method if there is a theme of light in the story. Recently, I did the story of Saul on the road to Damascus, and this method worked so well. I hung about 8 pictures from the story on the wall – some higher and some lower. I am a saver, so most of the pictures I had were from past years. I found other pictures online and printed them. We turned off the lights, and I gave a couple of flashlights to the students. I had them shine their flashlights on the first picture and started the story. Before moving on, we passed the flashlights down to the next couple of kids, and they pointed their lights on the next picture. It was a great way to have them help with the story.
Using different ways to present Bible stories helps the students to stay focused. You will have fewer discipline problems because they aren’t bored. Letting them use several of their five senses helps all kinds of learners that you may have in your class. They stay engaged and are having fun while learning how much Jesus loves them. Start with just a few new ways of teaching and add more as you go. Maybe you feel like you aren’t creative enough to make some of these things, but I am sure there are people in your church who don’t feel comfortable teaching a class but have the gift of creativity and would love to make things that you could use to teach the Bible stories.
It is such a privilege to teach our children about Jesus in Sunday School and other children’s ministries that you may have at your church. We want them to be excited to come back to learn more. No matter what method you choose to tell Bible stories, we need to pray that the Holy Spirit will give our kids open and receptive hearts and that He will give us the words to say that honor Him, staying true to God’s Word.
Note: the Betty Lukens Flannelgraph can be ordered from https://www.ambassadorpublications.org/store/product/betty-lukens-flannelgraph-sets/
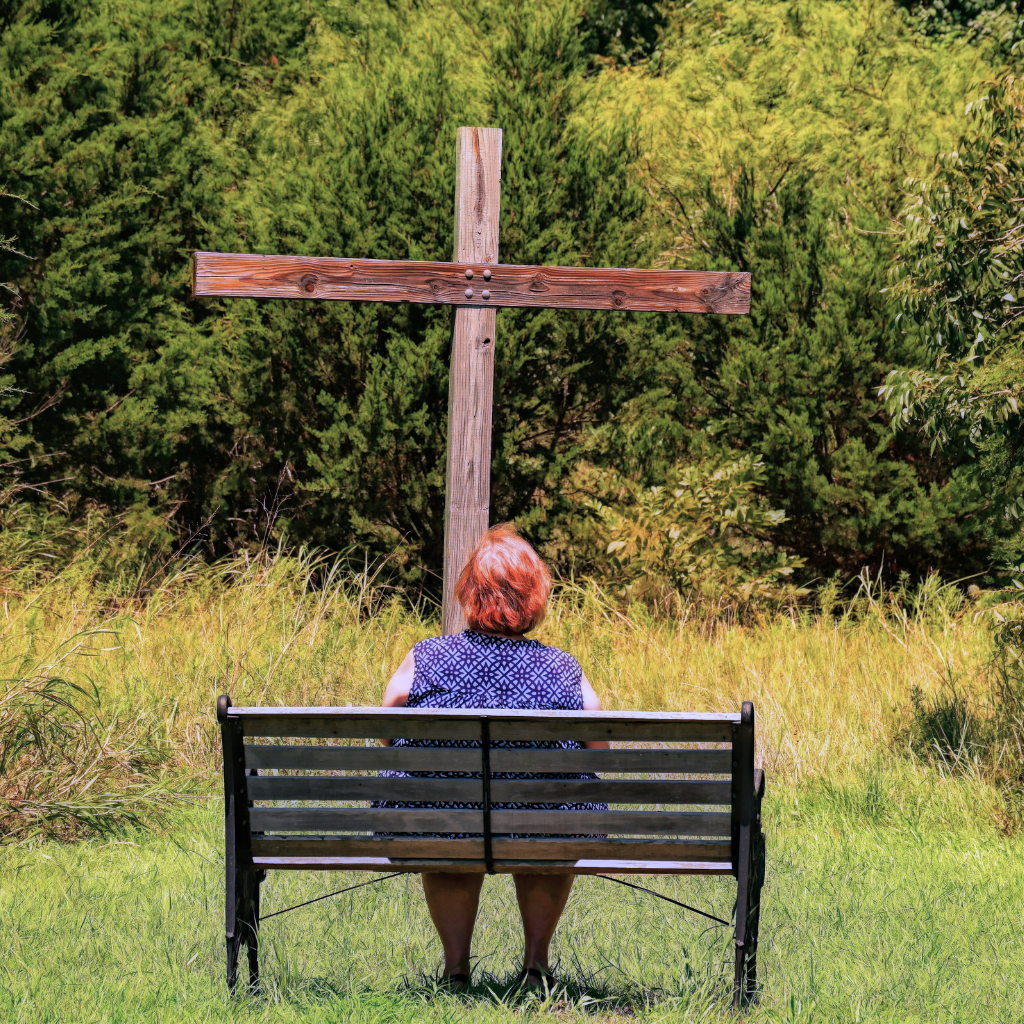
When I Survey
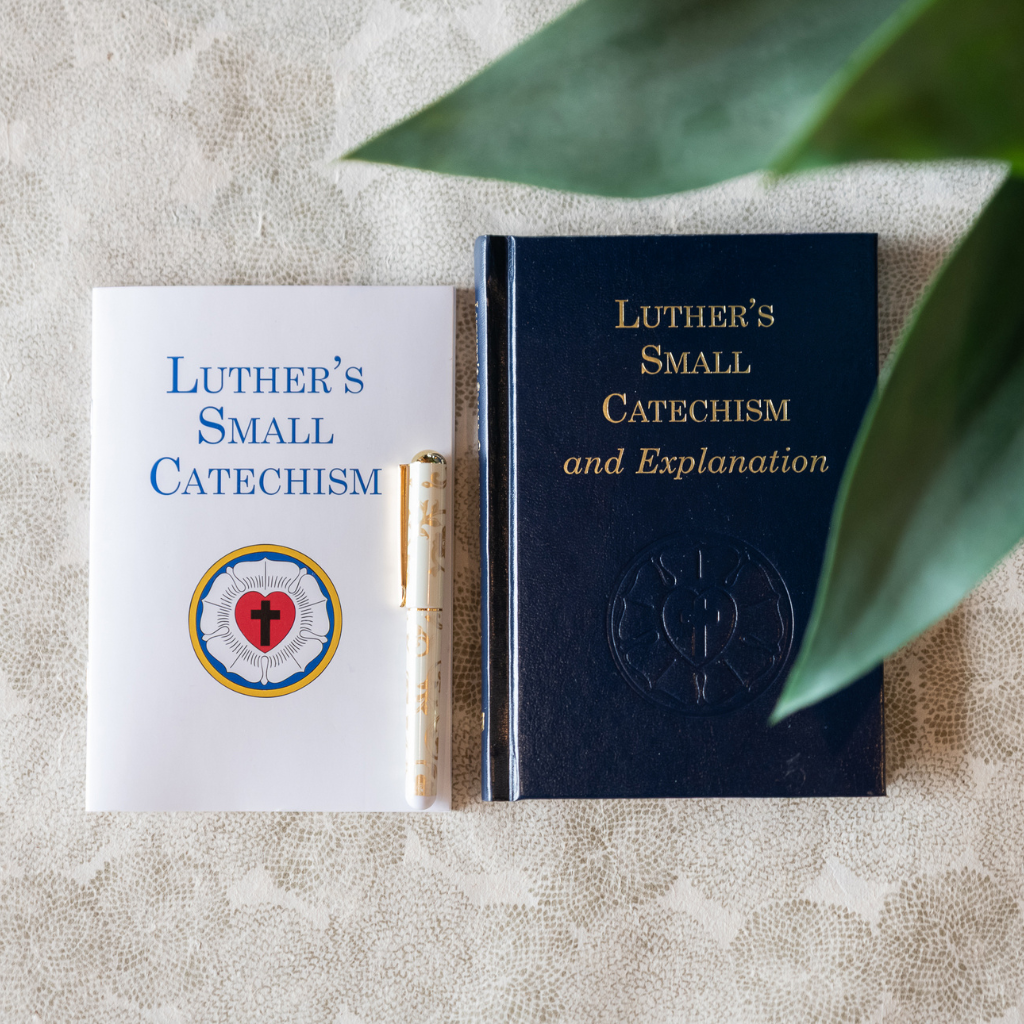
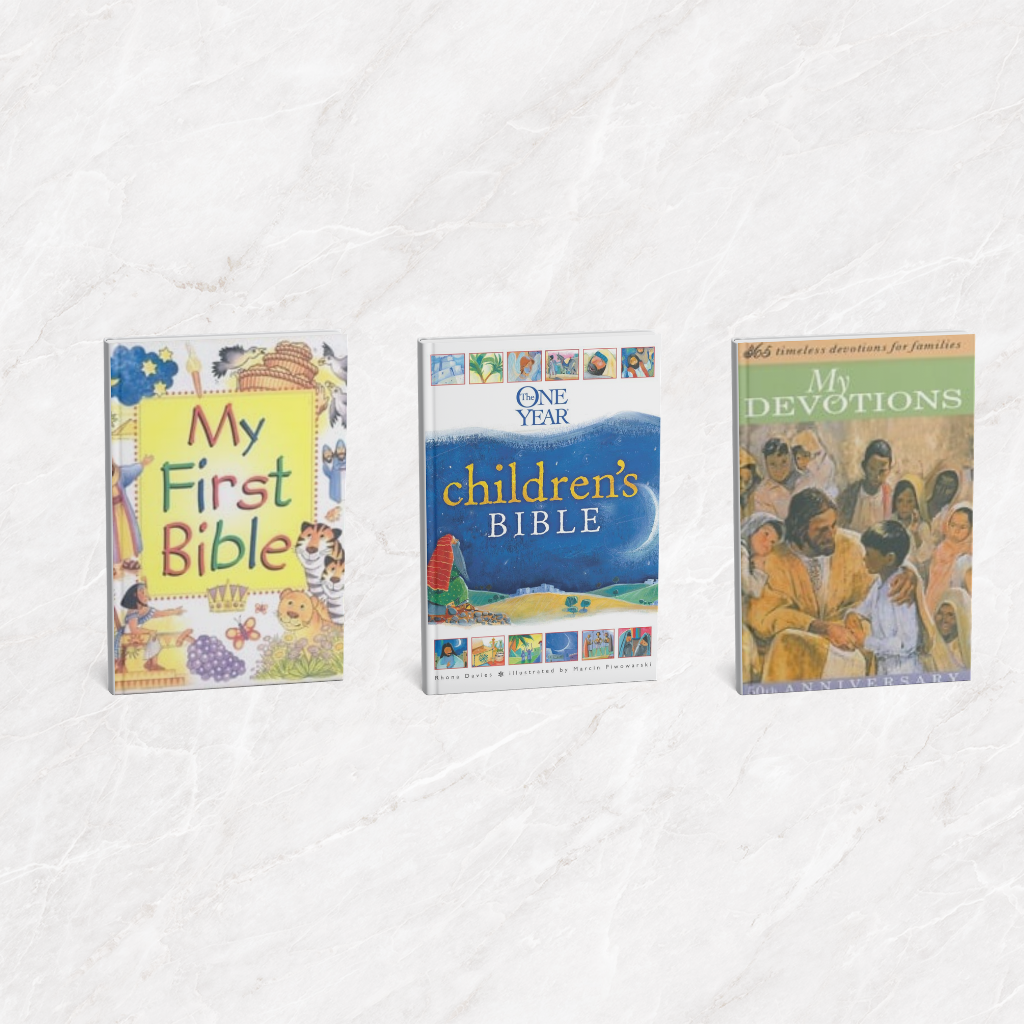
A Versatile Resource